Cheap Solar Panels: The cheapest solar panel system will always be the best solution for expensive electricity bills. Solar cells are getting cheaper every year.
Even if you can pay up to $ 10,000 for an off-the-shelf installation and can cover the cost of the system in just 10 years, making one yourself is even better and more educational.
Making your own solar panel is always a time-consuming process and requires more or less moderate electrical skills.
However, it can be very rewarding – learning to build your own PV panel is a great way to understand how solar power is generated.
Also Read: Electric Vehicles with Solar Panels is going to be the Most Fuel-efficient System by 2025
Before you build your own cheap solar panels, you must first understand how solar cells generate electricity.
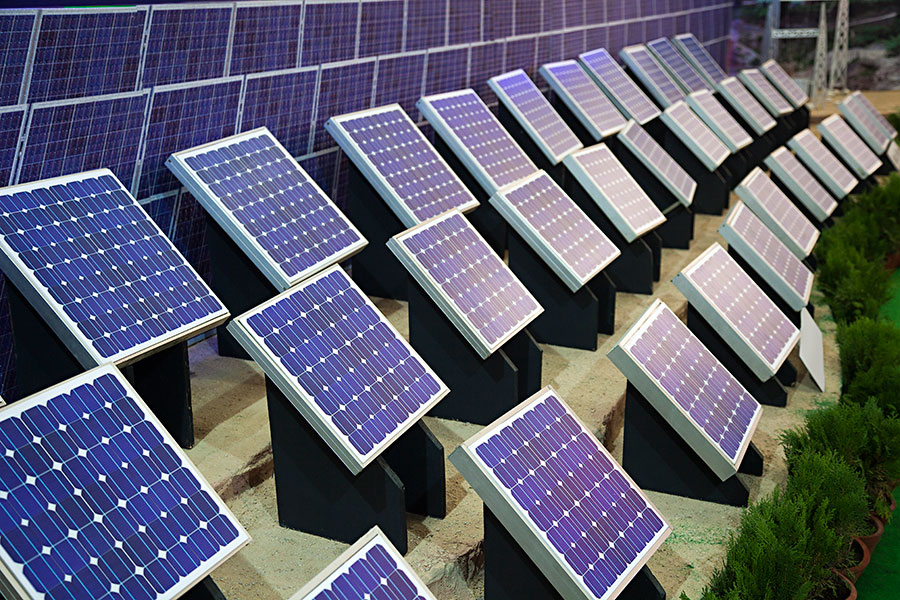
Most solar panels in use today are made of crystalline silicon membranes, usually measuring six inches square.
When the sun shines on those layers, the electrons in them begin to move. This flow of electrons is an electric current.
A full-size solar panel of the type used in roof solar power systems consists of 60 silicon layers. You can also make small panels if your electrical requirements are low.
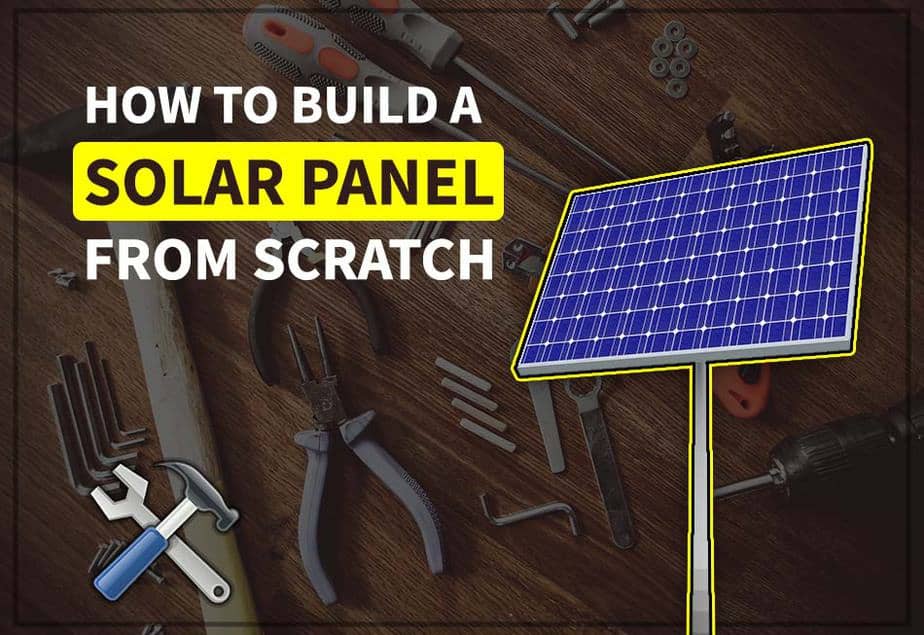
Once you have purchased individual solar cells (which can be purchased online), the basic process of building your own solar panel is as follows:
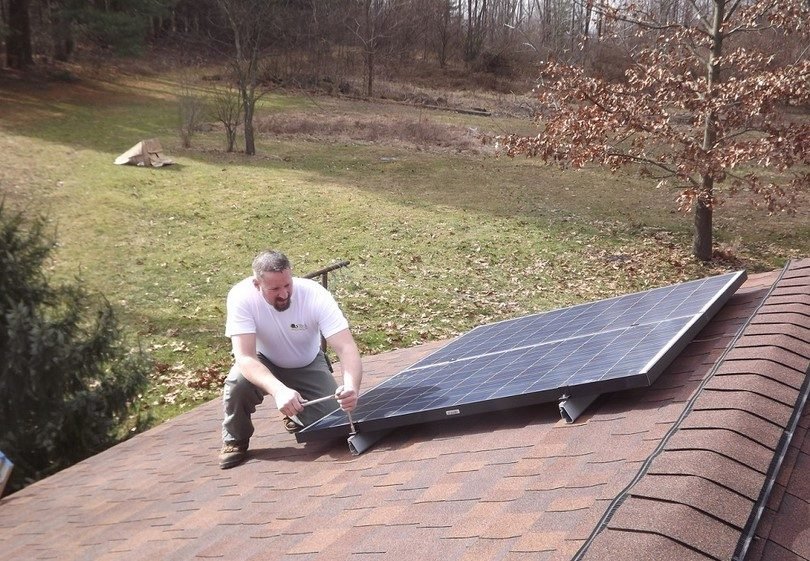
Prepare support for your cheap solar panel. Most of the DIY Cheap solar panel builders use a wooden board as the base for their solar cells.
You need to make holes in the board so that the wires pass through for each cell.
Wire your solar cells together. This requires some experience in electrical work. Use a soldering iron to attach the wire to the solar cells, and then connect each particle to each other.
Attach cells to your support. If possible, place each solar cell in an oval. This makes it easy to replace a single cell in case it is damaged or malfunctioning.
Let’s face it: we are still living under the traumatic stress of what happened in 2008 and we are still living in uncertain times when every percentage we take from the bank is fully evaluated before we sign a contract.
Lack of financial stability has led to ingenious savings among those who have learned how to save what they have, including energy.
We are currently living in war. The fight for energy efficiency has never been fought with more sophisticated weapons, and the winners are all the ones who pay less month after month.
Building your own solar panel system is the first line of defense without paying more for electricity than you did last year.
Yes, you may have heard of Solindra collapsing, and at least once in your lifetime you may have even thought about how to set up your own solar panels in your backyard or on the roof of your home.
And, for a moment, you were shocked. It’s good to be energy independent, own an electric car powered with those solar cells to give you free rides for the rest of your life. And so on.
The problem is: how to recover expenses in a few months?
Well, there is a solution: Create your own DIY solar panel system. Here’s how:
1. Get the cheapest solar cells from Amazon
There are many types of solar cell that you can choose from.
There are Chinese, with good results, at the best price, but not much guaranteed, there are Japanese guys who are guaranteed good performance, good price and Japanese work, and there are Americans, with the best price, and again, guaranteed on guarantees.
Choose wisely for your budget. For example, the rule in 2012 was that cells should not sell more than 3 1.3 watts. Buy a few cells that you think will fit your solar panel system’s budget and preferences and go to step # 2.
2. Get the tools
So you got your cells in the mail. Say you received 194 watts solar cells for careful shipping 105 105 (actual example from ebay) you carefully unpack, taking care not to break them as they are too thin.
Now you find some tools like soldering iron, solder, solder paste or flux (to remove grease from wires), a saw, some wooden board and protective glasses, a multimeter to measure voltage and amperage. And, cousin, pencil and ruler.
3. Carefully plan your solar panel system
Place the square solar cells on a wooden board and draw separating lines (carefully). You are meaningless.
4. Wire the cheapest solar panel system
Once you have planned the physical arrangement of the solar cells on the board, now start soldering the wires to the solar cells and then to each other.
First, link the cells in the series. Respect this basic rule as if you were soldering batteries: the positive lead is dissolved into the negative cell of the next cell. Do this for as many cells as needed to reach a voltage of 12 or 24 volts.
Do not exceed it when you enter an area of dangerous voltages. You want to generate intense energy here, don’t be stupid and don’t want to electrocute yourself to death (beware!).
The power is all there as well. You need at least 12 volts to start a 12V inverter to produce 110/220V AC or to charge your 12V battery packs. Linking the cell in series increases the voltage.
Then, carefully glue the cells to the board. It is best to make them into a frame that can be inserted one by one, so you can replace the defective ones.
Before you put all the cells in the right place, make sure you drill holes one by one for the wires.
Make connection buses along the positive and negative lead and connect those buses (thicker wires) in parallel (plus to plus, minus to minus) to have a parallel connection and increase the amperage.
5. You’re done!
You made your first functional solar panel system and now you can take it out to see what it produces.
You must first measure the voltage, and then the short-circuit amperage. Make sure your ammeter has the nominal power of a solar cell (108W at 12V means 9 amps).
You can now power anything that runs on DC current, charging your car battery.
If you are successful in doing these 5 steps, you can order a few more solar cells until you reach the power you want for your system.
Remember, you need to get the power you need, the bigger the inverter.
Now the hardest part of building a solar panel system, which requires attention and intensity in the quality of the work done, is connecting the panel to the battery pack and then to the inverter.
You can use a computer UPS (uninterruptible power source), but you need more power to power your home.
However, the batteries do not need to be new, and they may be of the lead-acid type, but it is advisable to purchase ones designed specifically for power storage and deep cycle consumption, as car batteries can only withstand high loads for a short time, and if they are accidentally released beyond a certain limit, You lose them for good.